Physical Address
304 North Cardinal St.
Dorchester Center, MA 02124
Physical Address
304 North Cardinal St.
Dorchester Center, MA 02124
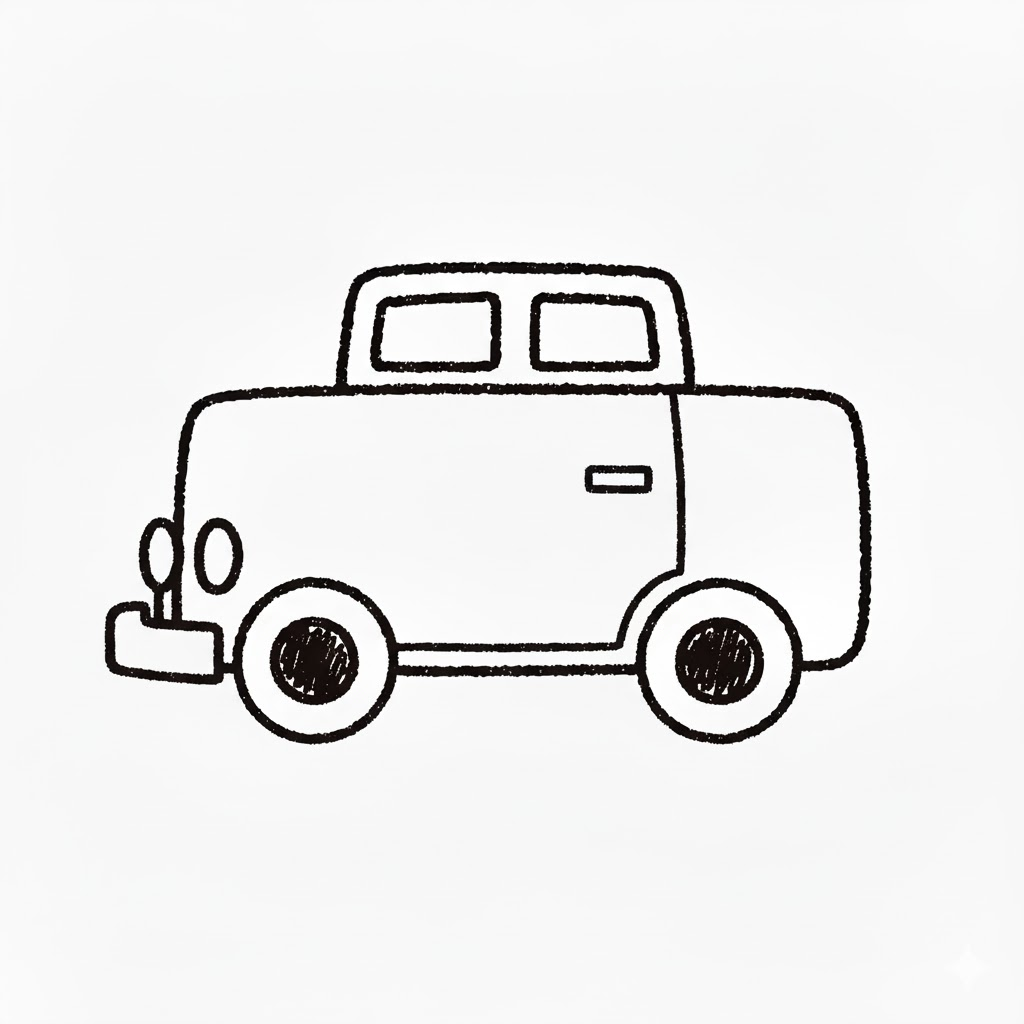
Hey little artists! Do you love cars? Vroom, vroom! Today we’re going to learn how to draw your very own fantastic car, step by super easy step. Grab your marker and let’s get ready to roll! It’s going to be so much fun to see your car come to life on the paper.
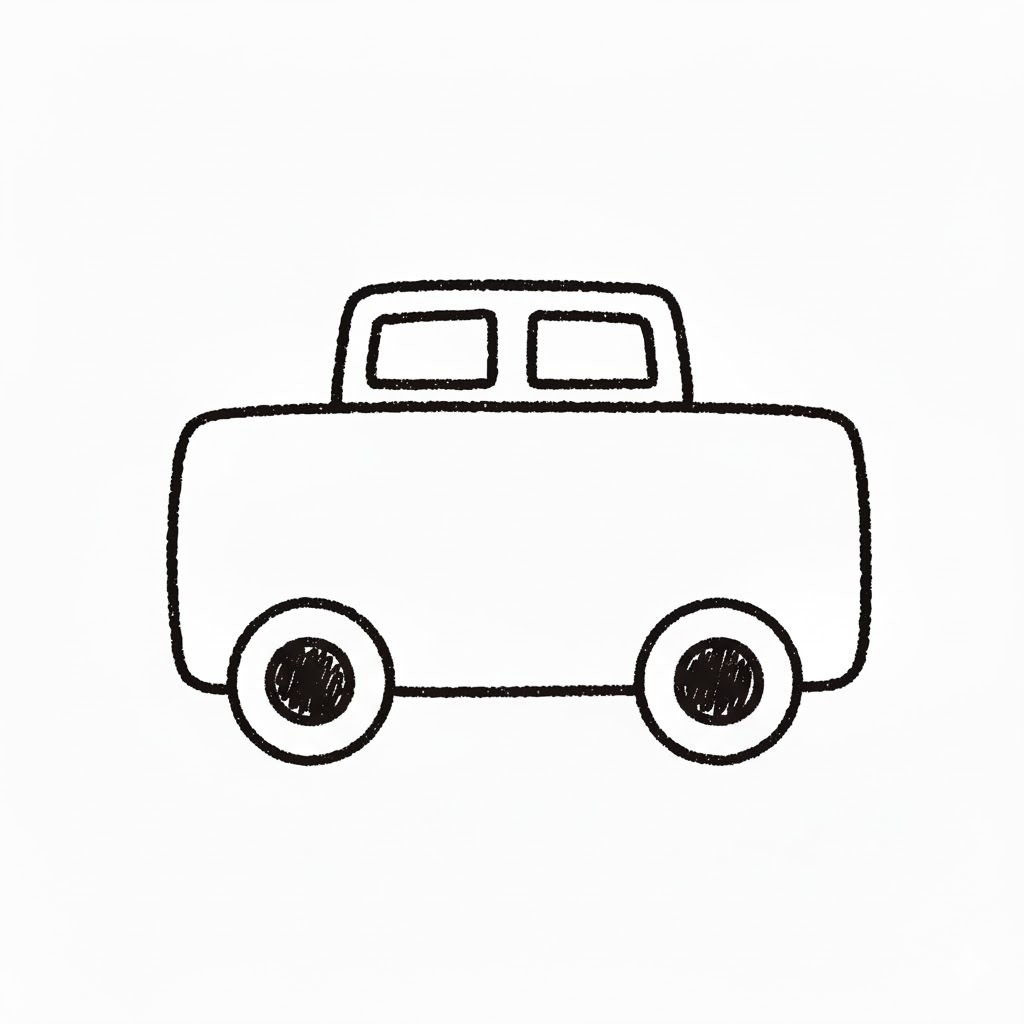
Step 1: Draw a Rectangle
Let’s start with the body of our car. Draw a long rectangle shape, like a yummy cookie! This will be the main part of your car.
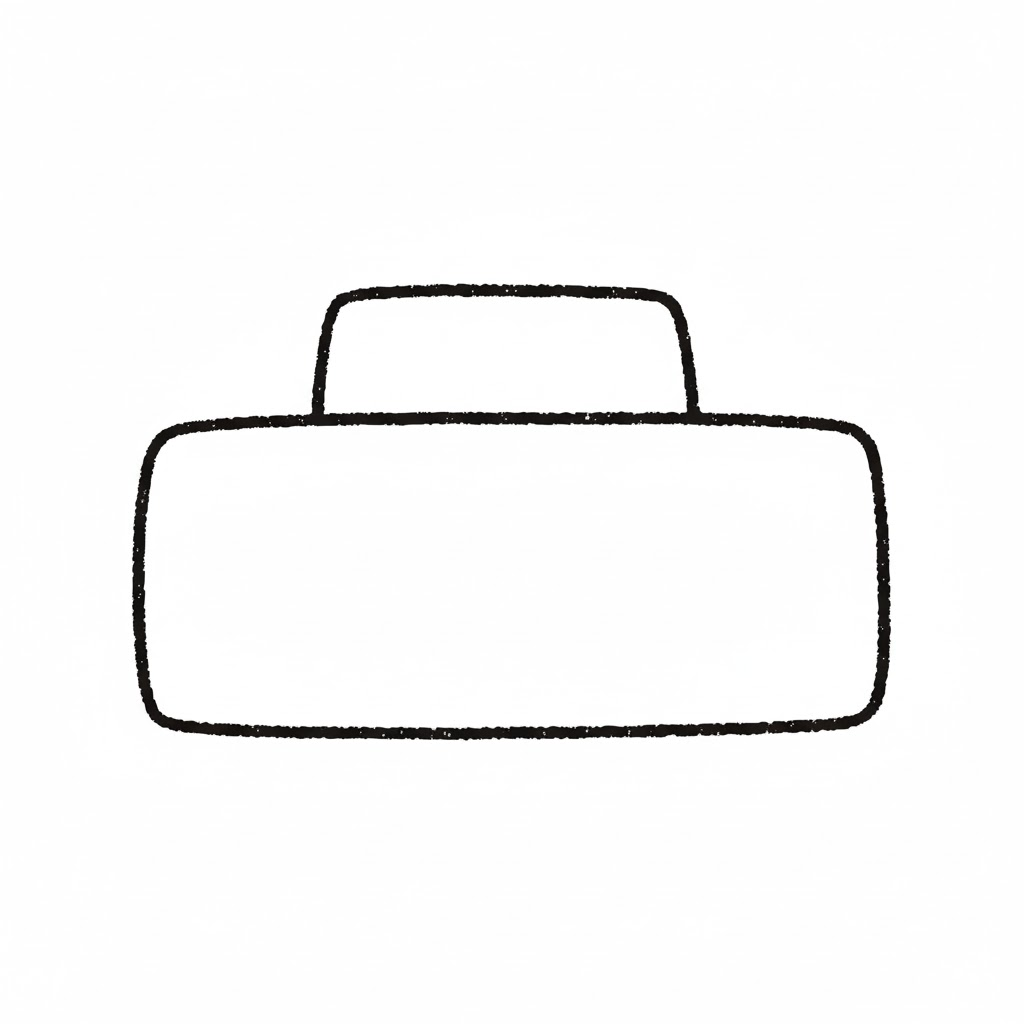
Step 2: Add the Top
Now let’s give our car a roof! On top of your rectangle, draw another, smaller rectangle in the middle. This is where the driver and passengers sit.
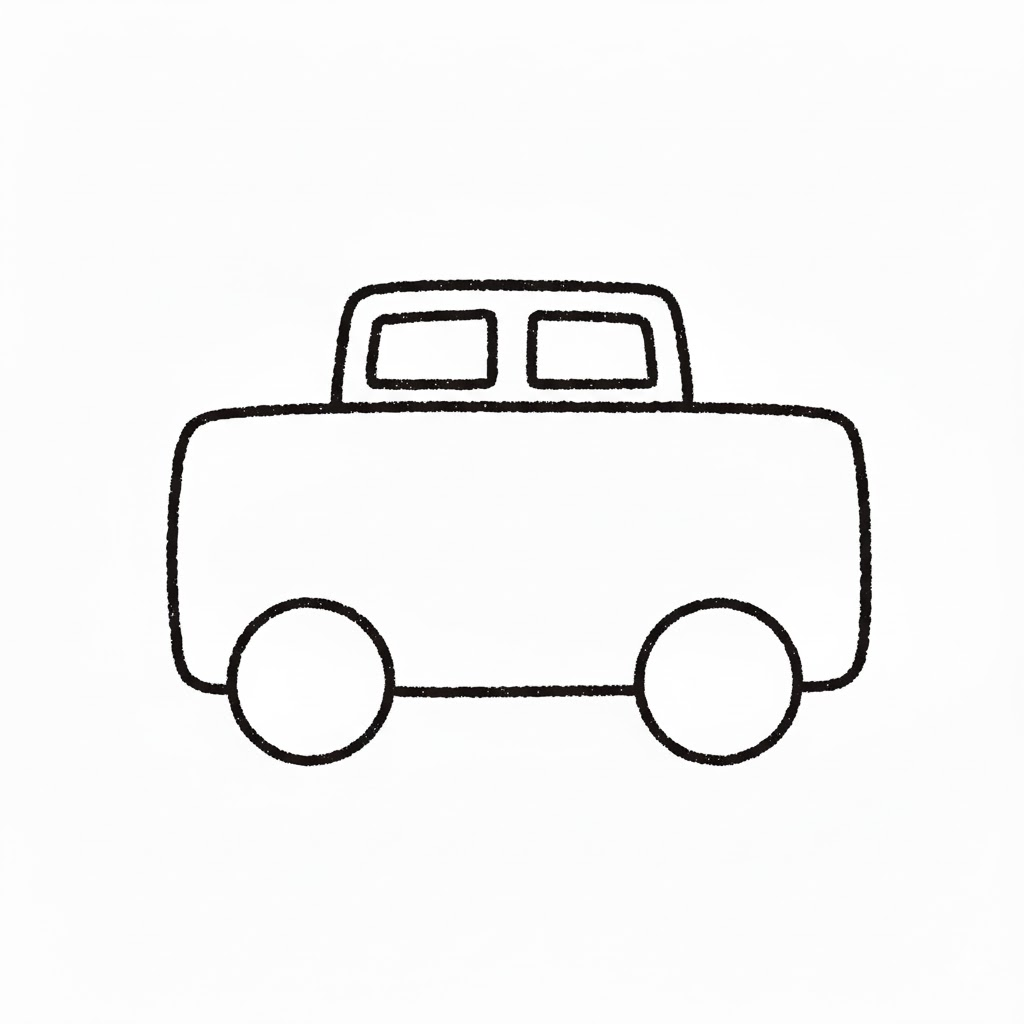
Step 3: Make the Windows
Time for windows so we can see outside! Draw two smaller rectangles inside the top part you just drew. These are your car’s windows.

Step 4: Draw the Wheels
Every car needs wheels to go vroom! Draw two big circles under the main body of the car. These are your car’s tires.
Step 5: Add Wheel Details
Let’s make those wheels fancy! Inside each big circle, draw a smaller circle. These are the centers of your car’s wheels.
Step 6: Draw Headlights
Cars need to see in the dark! Draw two little circles or ovals at the front of your car. These are the bright headlights.
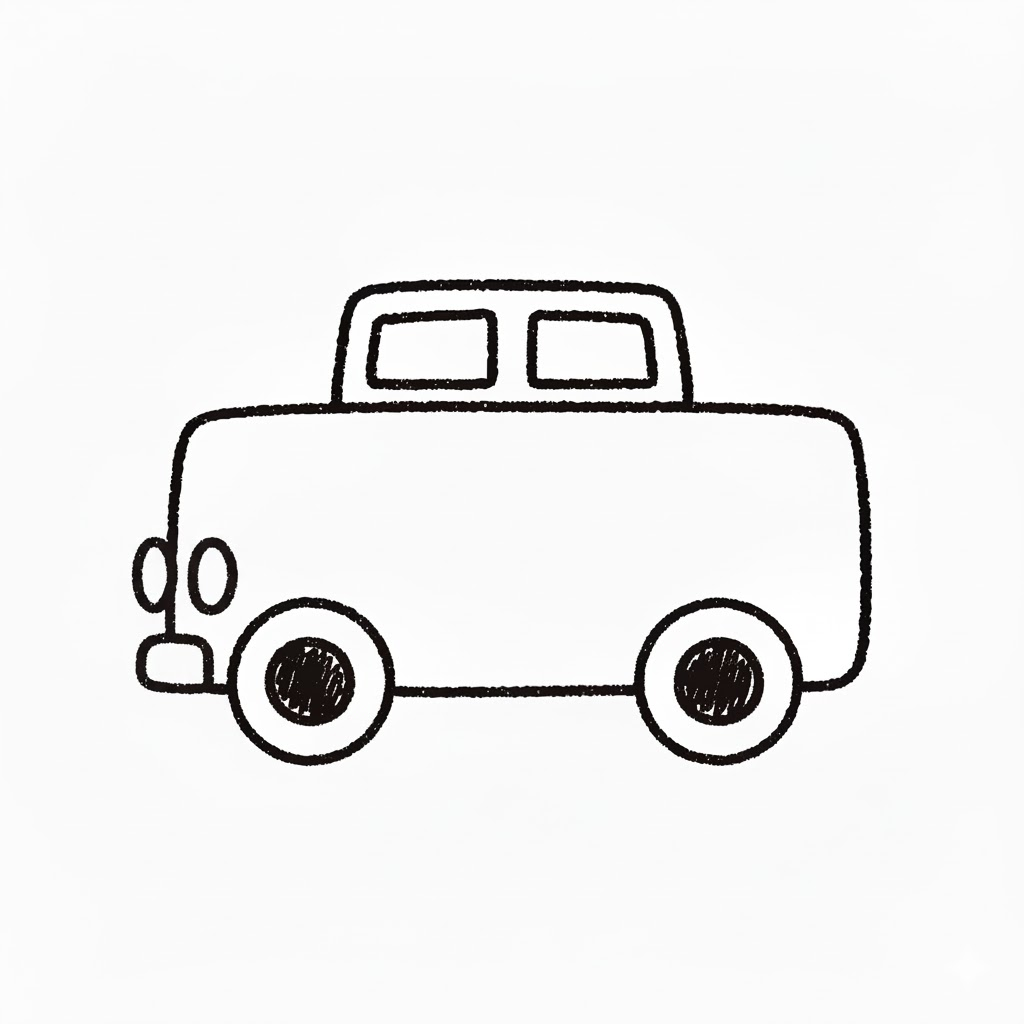
Step 7: Add a Bumper
To keep our car safe, let’s add a bumper! Draw a simple line extending from under the headlights. This protects the car.

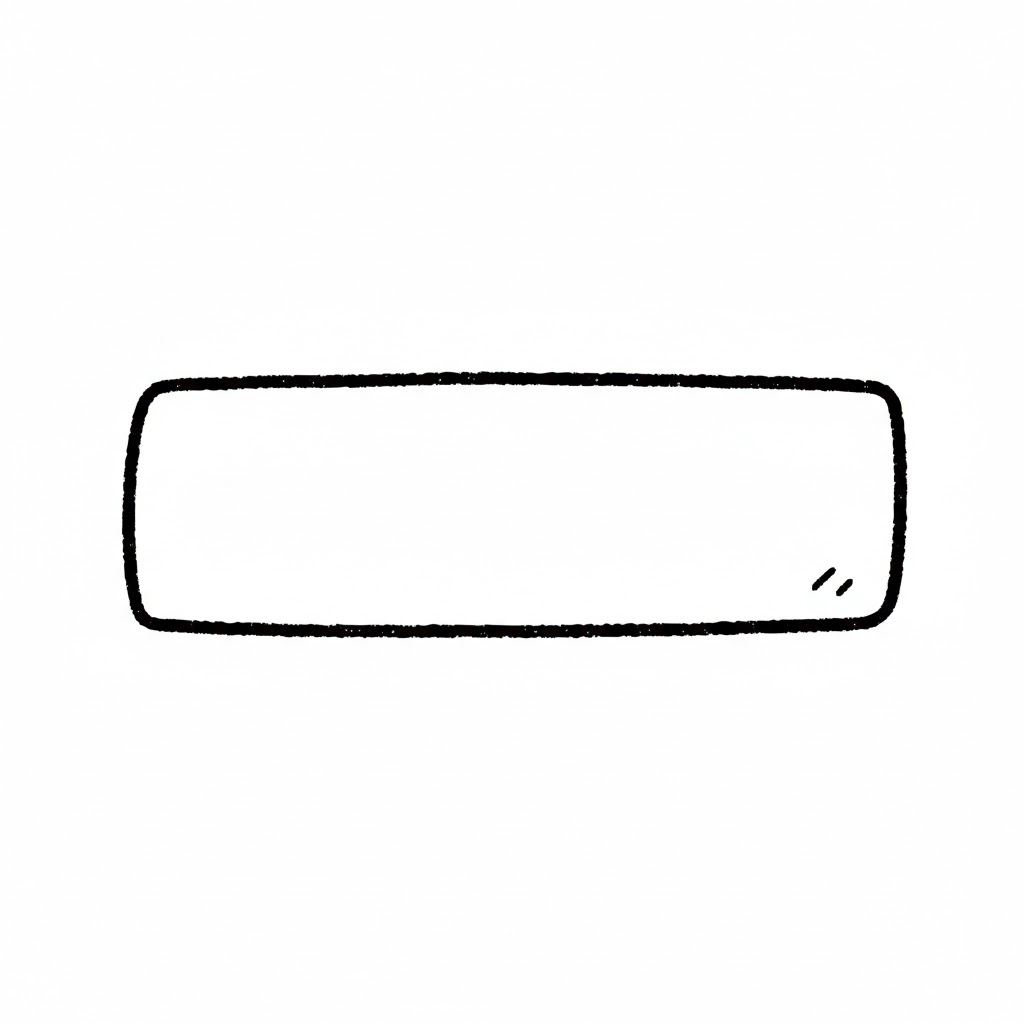
Step 8: Draw the Door Handle
Almost done! Let’s give our car a way to open. Draw a tiny rectangle on the side of the car, in the middle. This is the door handle!